Innovation that
doesn’t cost the earth
doesn’t cost the earth
Our Products
Questions?Let Us Help
Simply choose a support option from the icons below:
+86-571-86925866
sales-jit
sales-jit
Factory : No. 7, SongQuan East Road, XuanZhou Economic Development Zone, XuanCheng City, AnHui Province, China
Zip Code: 242000
Office : Room 2308, KEYA Time Square, No.1712 XueLin Street, XiaSha Eco & Tech Zone, HangZhou City, ZheJiang Province, China
Zip Code 310018

Products


JA79 Shower Tray/Base
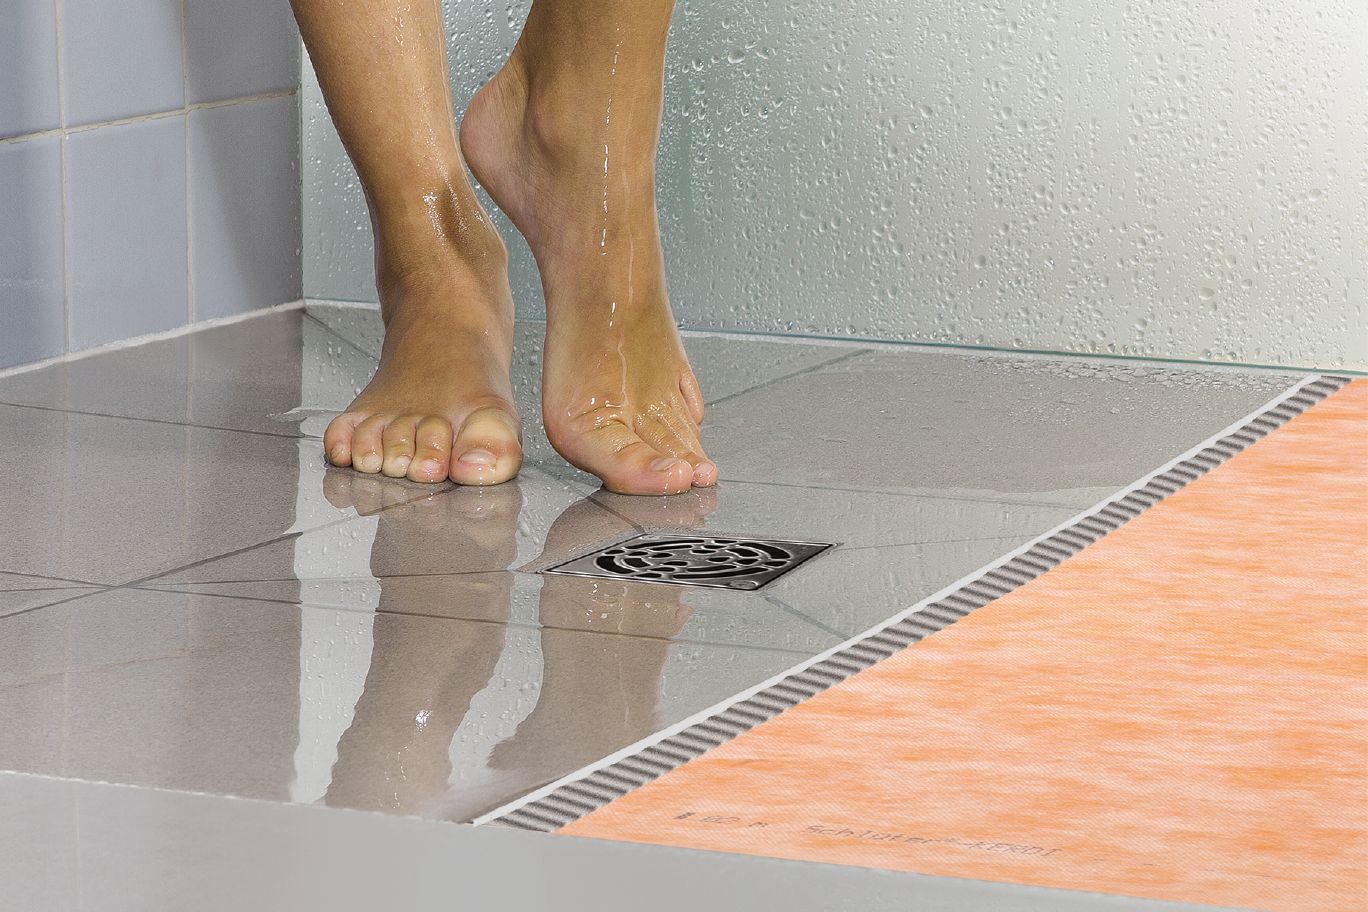
It is a lightweight flush floor panel with pre-made falls to drain, and is coated with a cementitious layer ready to receive a tiled surface.

Product Overview
Installation Vedio
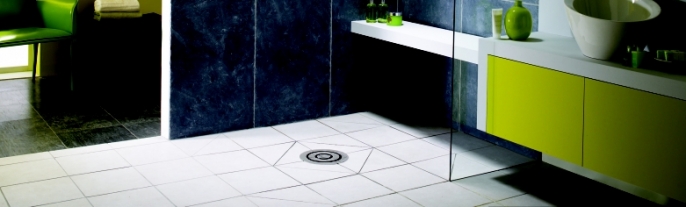
JIT floor level tileable shower tray/base is a low-cost, easy-to-install waterproof tray/base. There is no other wetroom tray/base on the market that is as easy to install as the JIT shower tray/base. Our shower tray/base can be used in the design of a wetroom for the home and suitable to be fixed to both timer and concrete floor. The shower tray is easily cut into any size or shape and forms a floor level, barrier-free panel ready to receive tiles with a preformed slope to the drain.
Application
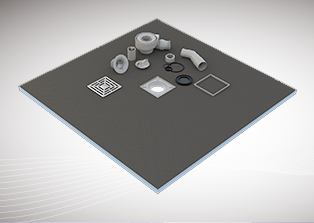
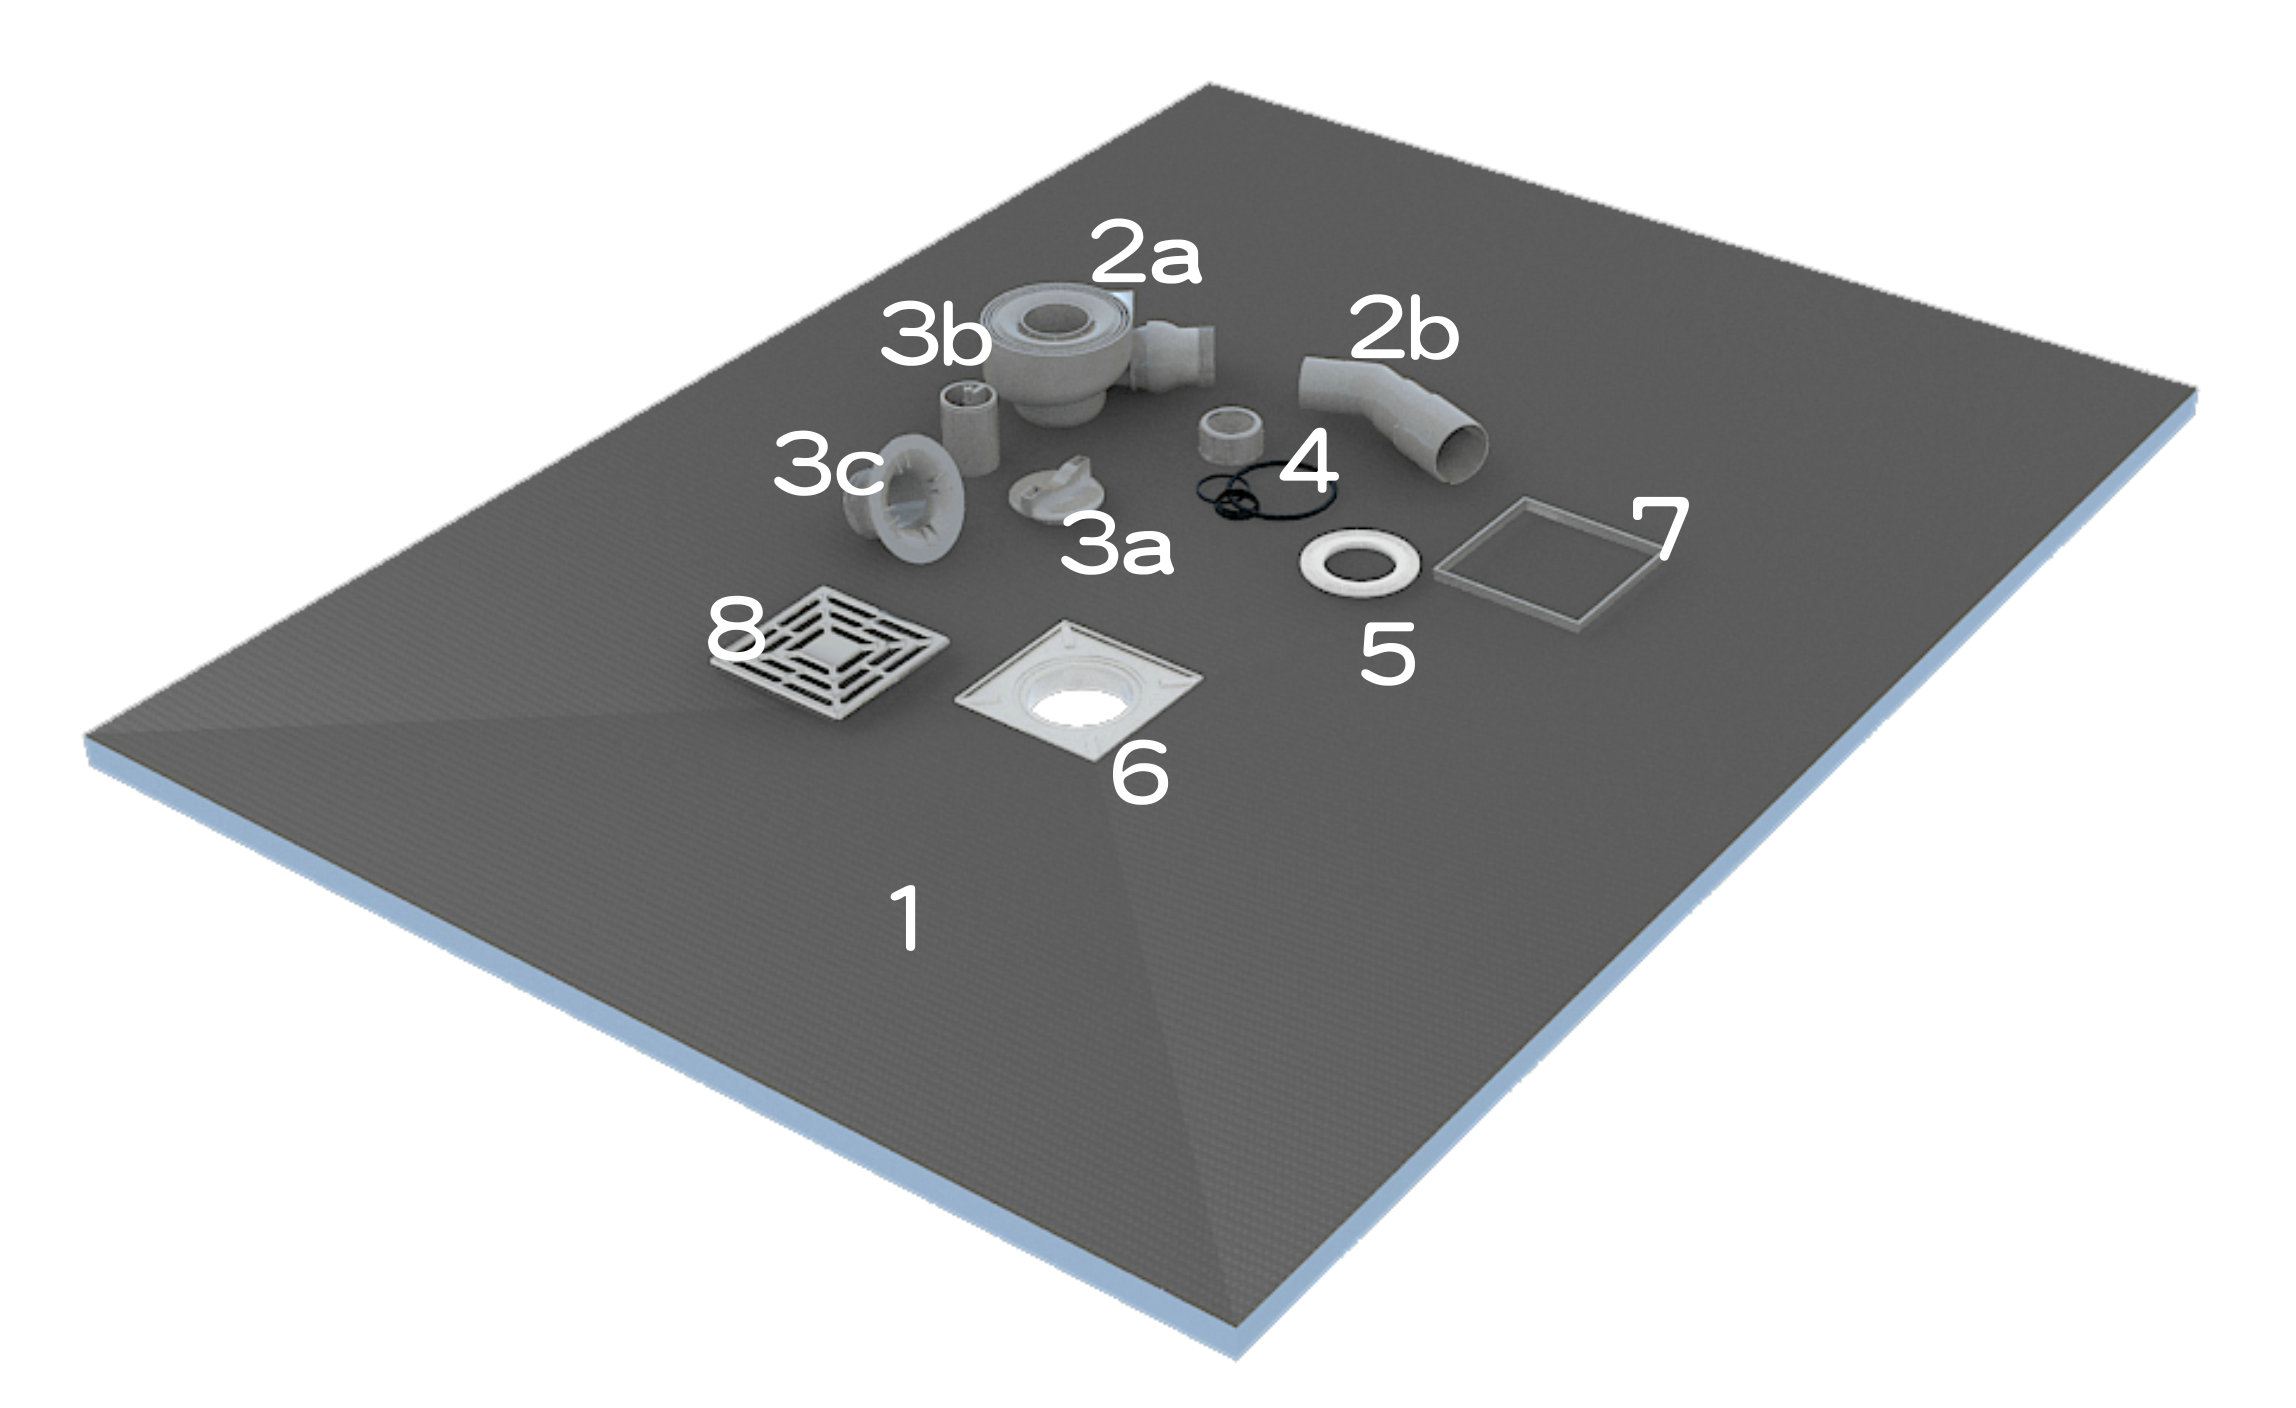
| Shower Tray/Base System components | |
|
1.Shower tray/base 2a.Drain body 2b.40mm/50mm connectoin pipe 3a.Key 3b.Dip-tube 3c.Drain connector 4.O-ring 5.Sealing rubber 6.plastic Piece 7.Riser Piece 8.Great |
 |
Installation Information For JIT JA79 Shower Tray/Base
Tips:
In principle, you can use all types and sizes of tiles, special requirements for tiles and mosaic thickness to be <25mm, and the size of the tiles and mosaic on the shower tray/base must be ≥50 * 50mm. Otherwise, you should consult the manufacturer.
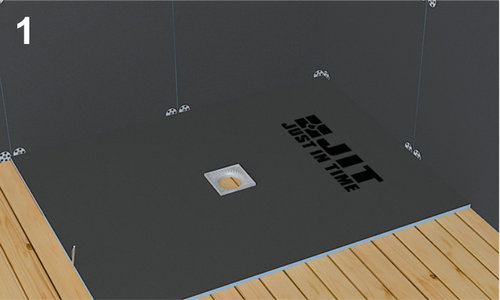 |
1.Put shower tray/base in right position and mark a circle along the hole of drain body. |
 |
2.Cut and move the floor board to accept the shower tray/base and drain. |
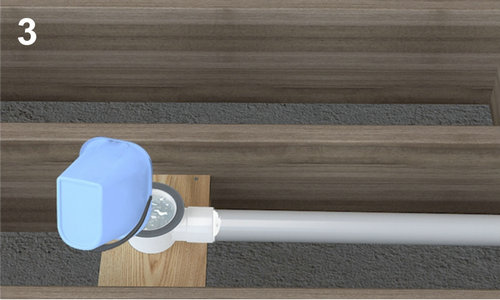 |
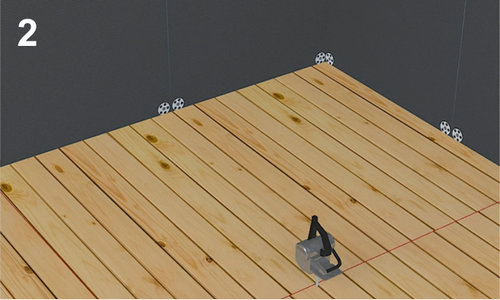
3.Measure and mark where your drain and waste pipe will be fitted.Cut drain shape out of plywood for waste,this should be 10mm higher than drain body.Connect the drain body to the waste pipe with solvent weld in the usual way. |
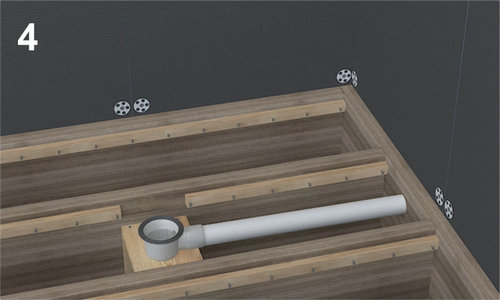 |
4.Fix a batten below the top of the joists. |
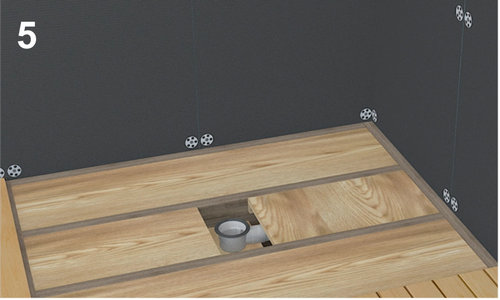 |
5.Once you are satisfied with the drainage,replace the plywood section around the drain and fix all floor infills in position. |
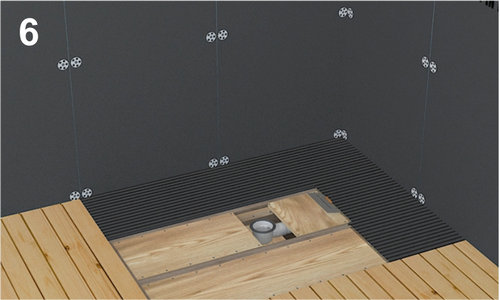 |
6.Spread the adhesive evenly over the area where the shower tray/base is to be installed,being carefully to clean away any adhesive on the rim of the trap |
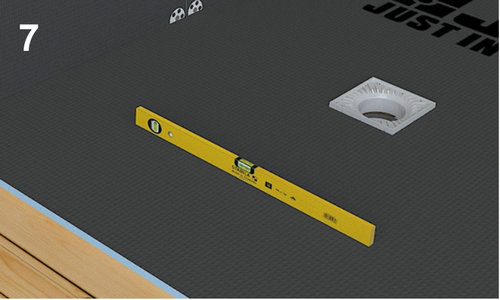 |
7.Level measurement of the surface is smooth. |
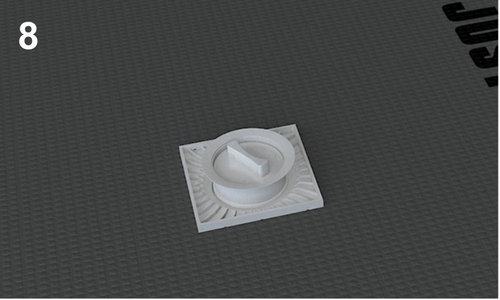 |
8.Fix the shower tray/base into positin.With a spirit level,check that the edges of the tray are level.Aslo you should use waterproof tape to connect all joint and wall corner.When adhesive is dry,now is ready to tilling. |
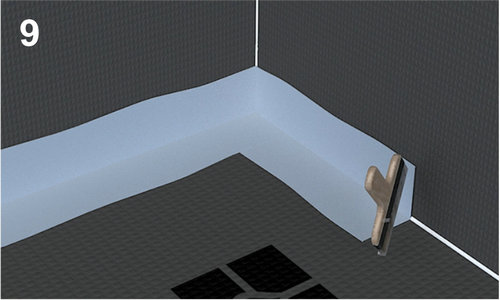 |
9.Seal all joints (both wall and floor) by JIT special waterproof paint. |
 |
10.Seal all corners of shower area by JIT special inside corner. |
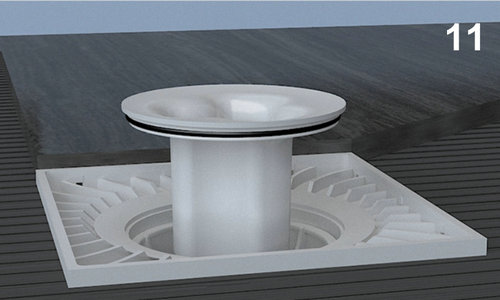 |
11.Then set the O-ring on Inlet with Seal and put it in. |
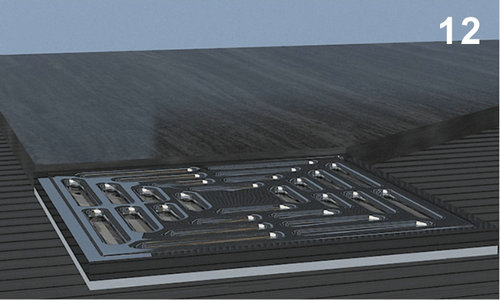 |
12.If there's height difference between tile and drain. |
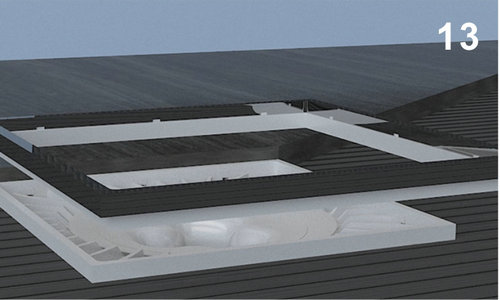 |
13.Use the riser piece to balance the height difference between tile and drain. |
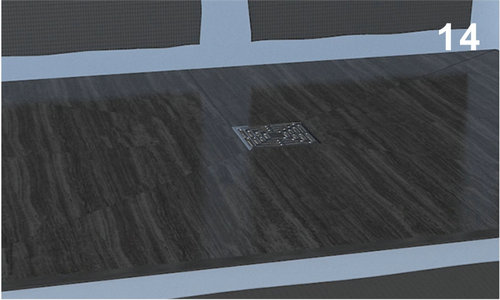 |
14.The shower tray/base is finished and can be tiled. |
Installation Information For Concrete Floor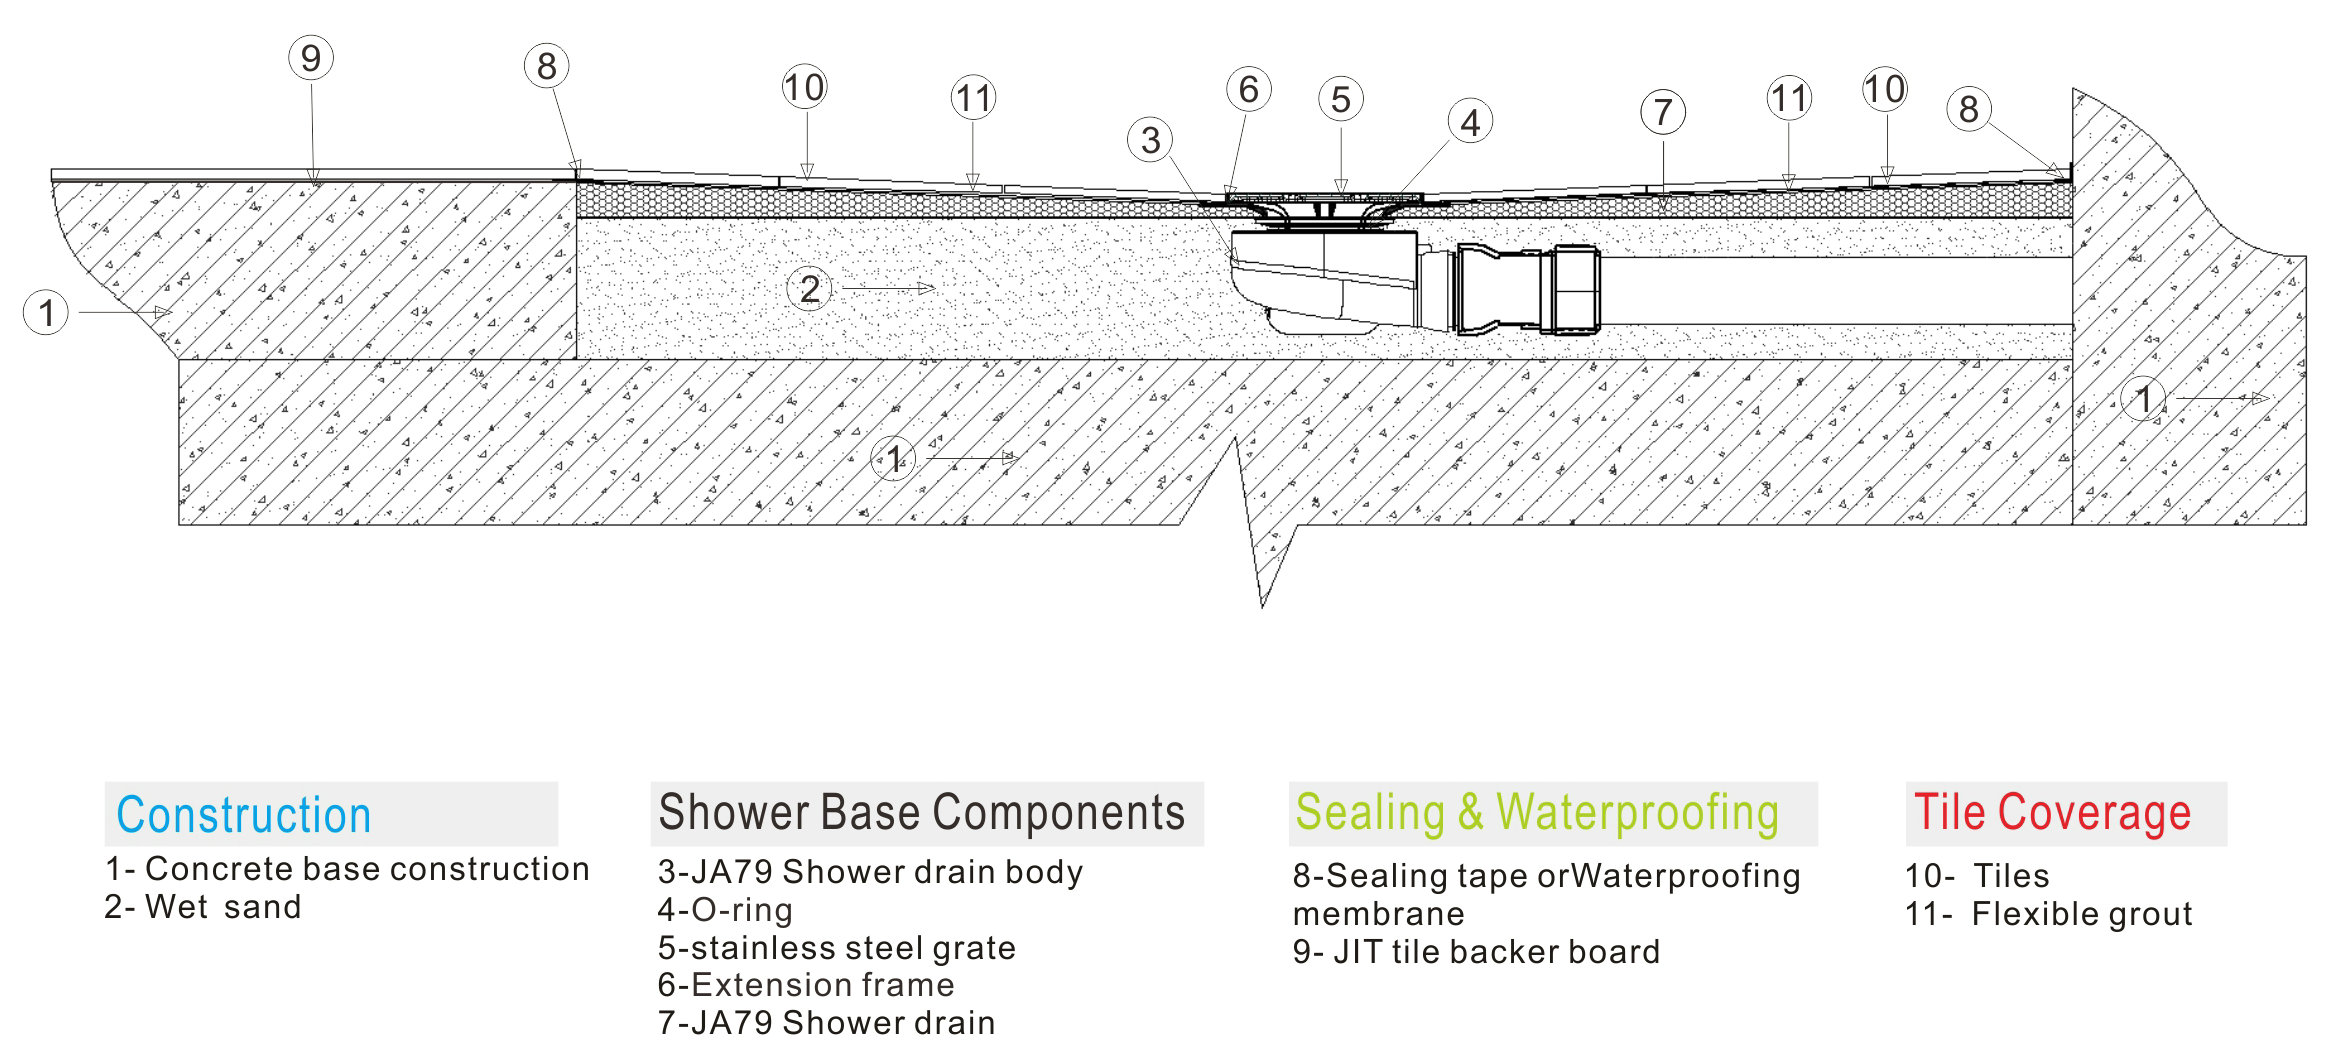 |
Installation Information For Wooden Floor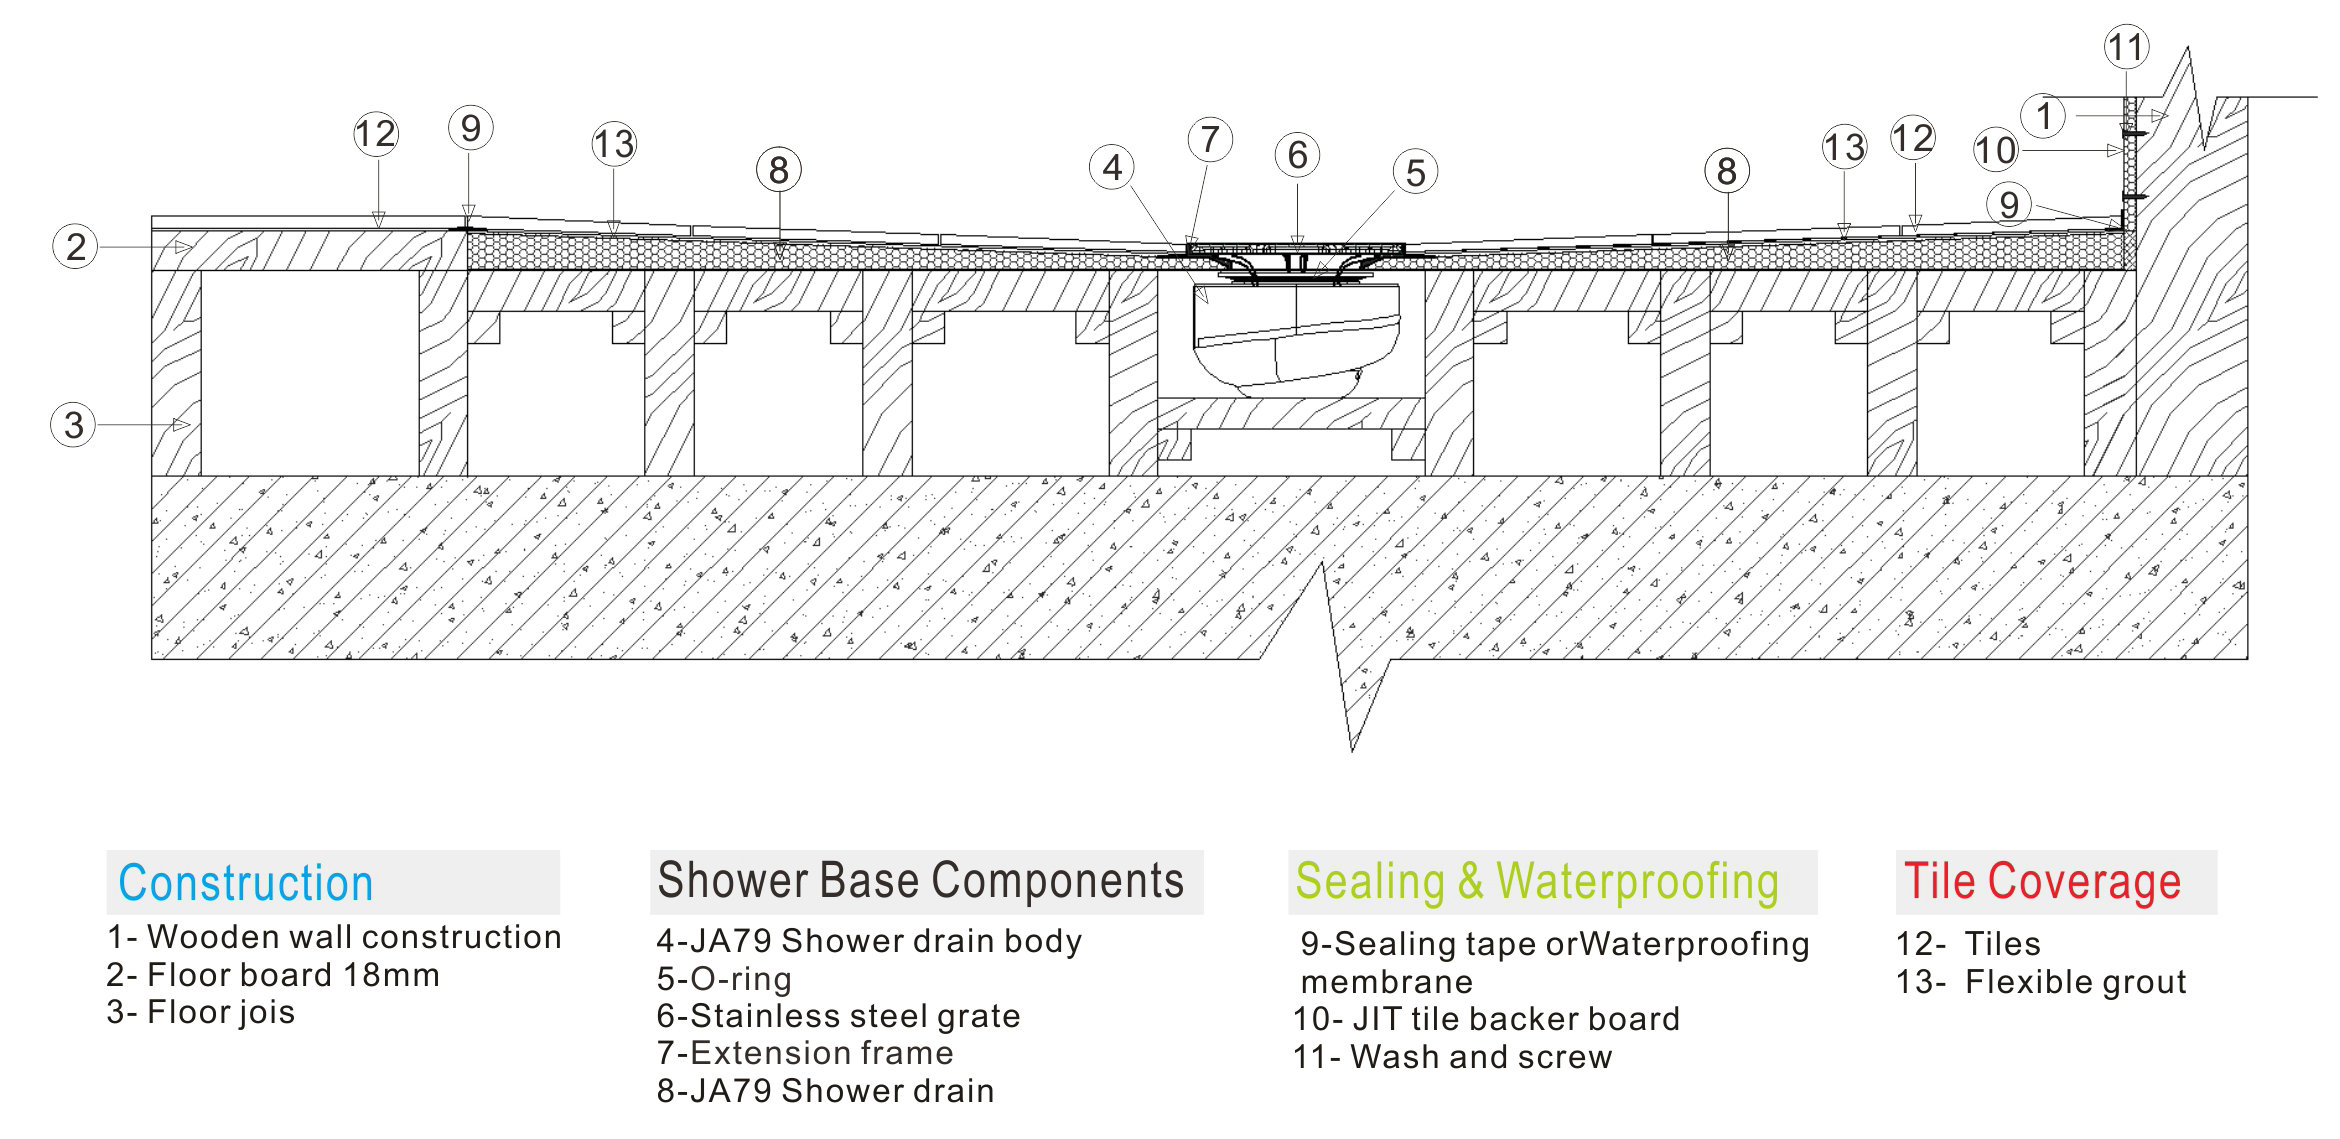 |


